Pages

Showing posts with label photos. Show all posts

Wednesday, June 10, 2015

Summer Photos Speedlight DIY

Summer Shoot: How's that for 55!

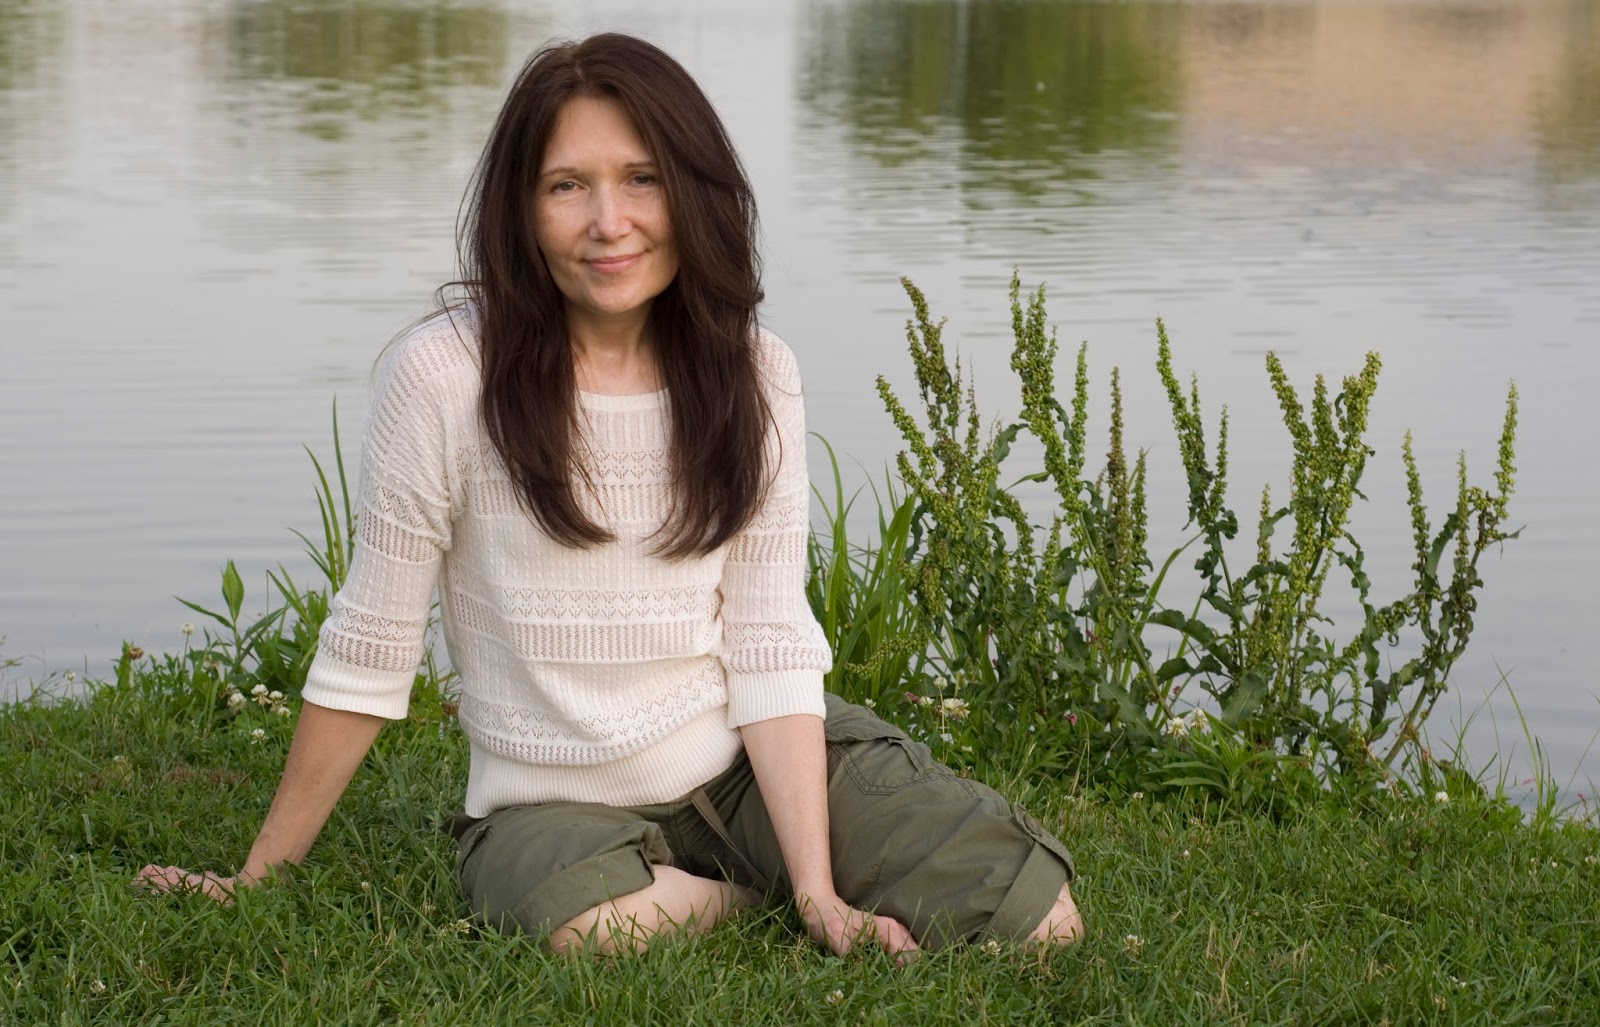
That's right. My model for this beautiful June shoot is 55 years old and happens to be my beautiful mom.  Soft lighting is great for smooth looking skin, but she looked 30 to begin with!

Here are a few of my favorites from the day, but wait until you see the ones from sunset!

Our prop was homemade from a chair we got at the Habitat for Humanity ReStore and spray painted.

It was a mostly sunny day so we looked for shade. We went to a public park and found some trees. In most of these pictures the sun was coming from behind her right side. The photos were shot in RAW and only had the contrast adjusted and sharpened. We moved a little closer to the edge of the shade for some of the photos to get the sun in her hair.  In those photos the sun i also behind her, but not directly.  

When the sun set.

As we neared the end of the day, we decided that we wanted more than just silhouette photos with the sunset and broke out the speedlight. It was very simple. We covered it with a soft box and set it to 1/1, the brightest flash, and started shooting.  I first exposed for the sky, then added the flash to illuminate the subject.  All you need is a speedlight that shoots in manual (a cheap one is fine), a radio trigger for that speedlight, and a light stand. 

Another sunset photo.
 Loving our homemade prop in this one.


 Moved to another part of the park.
 Loved the cattails in the background.
Looking directly toward the setting sun behind the clouds.
Maybe one silhouette.

Saturday, February 14, 2015

Colorizing Black and White Photos


This is not a complete how-to post, but I would like to share some of my new (very amateur) Photoshop work! I'm using a copy of Photoshop CS2 that I got for my birthday years ago...it's maybe 7 years old.  All I'm doing is working in new layers for each color and changing the blending mode.  If there's any interest, I'll do a complete how to very soon.

The photo above was taken around 1962 (about 54 years old).  It is a photo of my great aunt and great uncle, my grandma's sister and my grandpa's brother.  When I traveled home for my great aunt's funeral, I saw this photo hanging on a collage cork board.  My great uncle expressed interest in having an enlargement.  I couldn't just blow it up...I had to make it better.  After removing some scratches and noise from the photo (using the cloning tool, the patch tool, and noise reduction), I desaturated the photo, added some contrast and sharpened it with smart sharpen.  That made a decent looking black and white.  But I still couldn't let it go.  After talking with my grandma, I learned the color of everything in the photo and went to work.

I added an adjustment layer to the photo, chose a color, inverted the selection, chose "overlay" for the blending mode, and started painting with a paintbrush set to white to let the color layer show up.  I did this for every color that I used (five shades of green for the grass and trees).  I labeled each layer with the name of the thing that I would be painting (pants, shoes, skin) so that I wouldn't get them confused.  When the colors overlapped, like the green and the skin color were one on top of the other, I selected the layer that I wanted to move and used either the smudge tool to move it, or the brush tool to hide it.

Here are my final results:


PS: Don't forget to add some pink tones to their faces.  If you don't, they'll look pale.

Thanks for reading! Be sure to leave comments letting me know what you think, what you want to see, and ideas on what to do better. I want to learn how to Photoshop and take photos!


Friday, February 13, 2015

Graduation Announcement Photos


Here I am blogging when I should be studying...sigh.  APA has convinced me that I must double space after each punctuation mark.  Graduation is coming.  Today I'm sharing an idea for a graduation announcement (because I'm not paying a bundle for the same ones that everyone gets).  Since i love photos, I want to make photo announcements.  So here's the idea: since this is my very LAST graduation EVER, I want to compile all of my old graduation photos, kindergarten to college and put them together.  I think I'll even include one of me in my cap and gown...if it gets here on time.  I wanted this to be a surprise to everyone that I invited, but I couldn't wait to share it with you guys!

First up.....1995
That's little me at my first ever graduation!

Next up: This photo circa 2003 of my 8th grade graduation.
We didn't wear a cap and gown that year :(

Picture number three: Going back to 2007...high school.
Red is just not my color...

Next is 2010...my Associate's degree.
I don't like this photo.I think both lights were set to the same brightness....but I didn't take it.

We've finally made it to 2012...my BA!
This is my favorite of all of them! But it's really the only one I did much work for. 

Graduation is in May!! Here's to hoping that all goes smoothly and I walk across that stage with a diploma in my hands! I am more than thrilled to say that I will never have another graduation.  

I am not sure how I will arrange these photos yet, but if anyone has any ideas feel free to leave me a comment.  I also want to know about your luck with printing companies and Photoshop templates.  

The weather here has not been beautiful lately, freezing cold with no snow.  I plan on taking photos as soon as I get the time and the weather cooperates.  I promise that these blogs will get more frequent and dependable as soon as school is D-O-N-E!!!!  Please leave comments and let me know what you think and what you'd like to see more posts about.  I think my favorites are photography tutorials, I'll try to get my husband to take photos of what I'm doing next time and go more in depth.  Thanks for reading!